It seems like everyone has tutorials on their blogs these days. I was starting to feel left out! Here's my unique attempt at teaching you something that you most likely will never need to know.
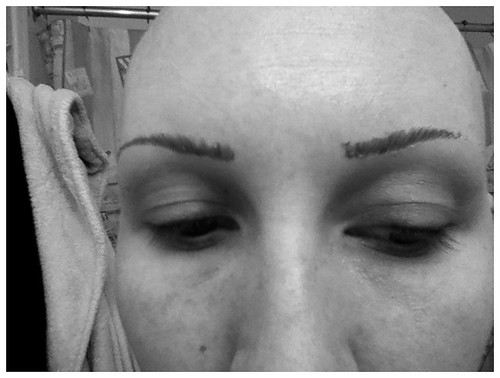
Step 1: When your eyebrows begin to look like this, it means it's time to apply some new ones:
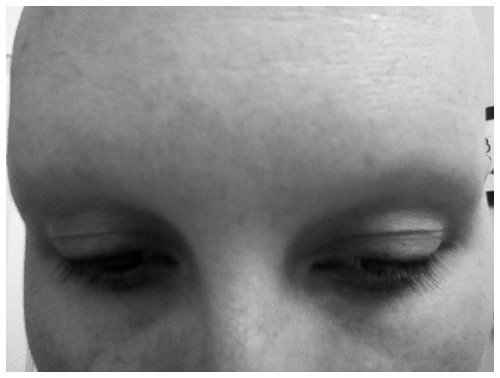
Step 2: More than likely, you should be able to just rub off the remaining "temporary tattoo," leaving you with a nice, smooth surface.
Step 3: Find your sheet of eyebrows.
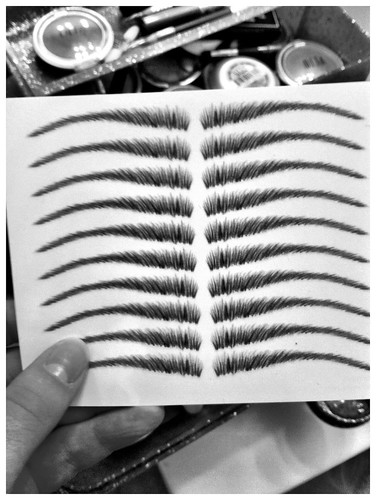
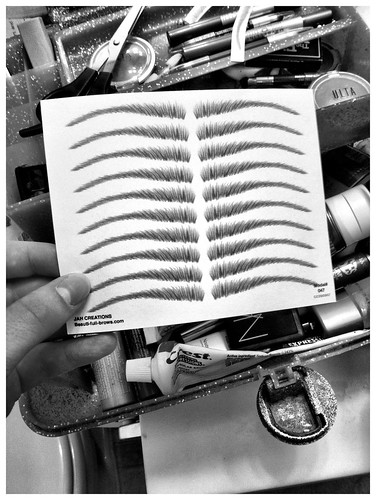
Step 4: Admire the handy guides on the backside (but if the photos are in black and white, just trust the writer that there really is a front and a back). Cut a pair from the bunch.
Step 5: Stick each eyebrow onto its respective spot. It will take some practice trying to remember where your eyebrows were in the first place.
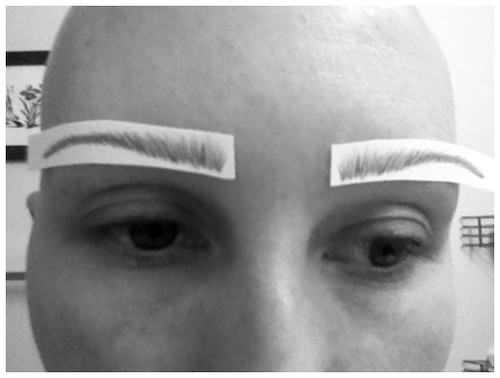
Step 6: Wet and wring-out your handy "Rambo-esque" washcloth, and then affix it around your head. Wait 1 minute and 30 seconds.
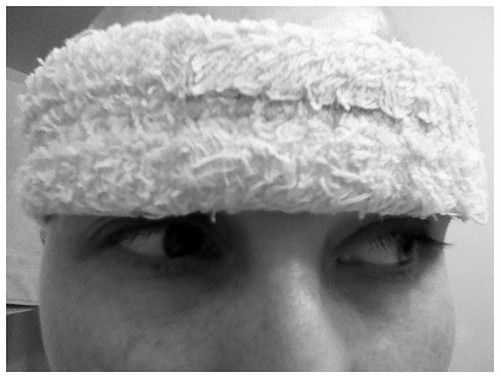
Voila! You have now learned how to apply your temporary eyebrows.
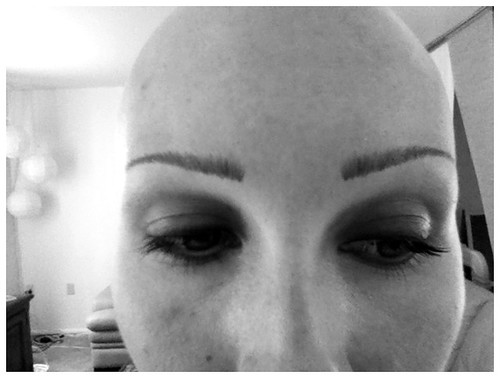
Repeat as necessary, which will probably be every day. If I figure out how to make them last longer, I will let you know.
Step 1: When your eyebrows begin to look like this, it means it's time to apply some new ones:

Step 2: More than likely, you should be able to just rub off the remaining "temporary tattoo," leaving you with a nice, smooth surface.

Step 3: Find your sheet of eyebrows.

Step 4: Admire the handy guides on the backside (but if the photos are in black and white, just trust the writer that there really is a front and a back). Cut a pair from the bunch.

Step 5: Stick each eyebrow onto its respective spot. It will take some practice trying to remember where your eyebrows were in the first place.

Step 6: Wet and wring-out your handy "Rambo-esque" washcloth, and then affix it around your head. Wait 1 minute and 30 seconds.

Voila! You have now learned how to apply your temporary eyebrows.

Repeat as necessary, which will probably be every day. If I figure out how to make them last longer, I will let you know.


0 Happy Thoughts:
Post a Comment